
When you’re trying to conceal imperfections, it comes down to the application technique of your concealer and foundation, as well as the products you chose to do the job.
If you’re trying to conceal a scar or blemishes, makeup can help you to improve the appearance of your skin to give you a less noticeable contrast between your skin and the imperfection you’re trying to cover up.
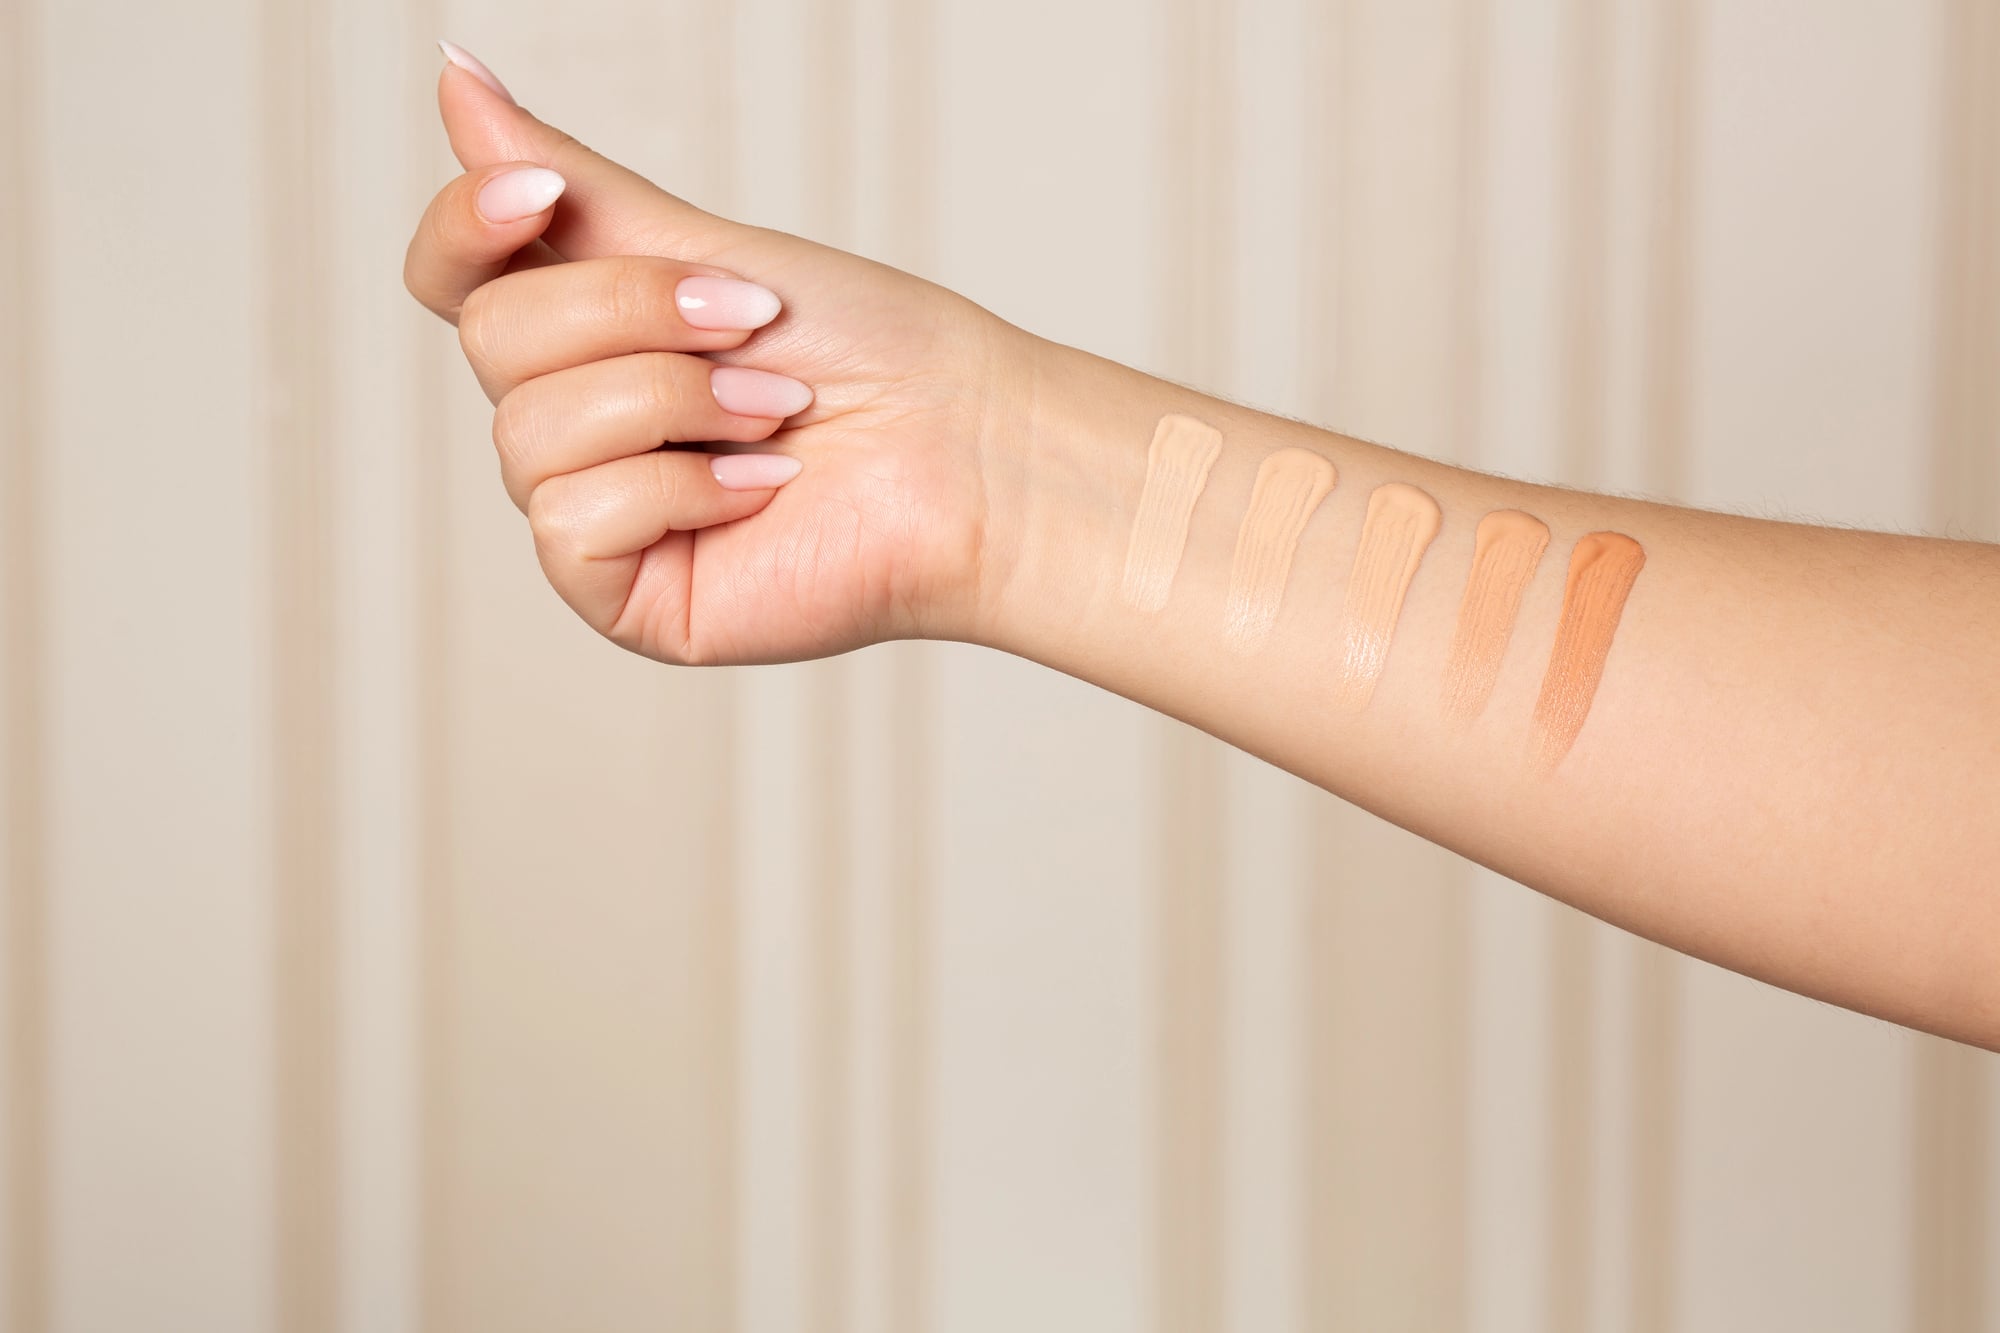
Different Types Of Scars And Blemishes
Different marks on your skin will behave and respond to makeup products in different ways. It’s not a one product works for all types of imperfection kind of situation.
If you’re dealing with acne scars, they can look pitted, raised or be discolored in clusters on your cheeks, your jawline or your forehead. Whereas injury scars can heal to give you straight or curved lines which might look flat, raised or be slightly indented.
Stretchmarks can look like streaks on your skin, and tend to start off being red or purple, but end up fading to a less noticeable silver color.
Pigmentation spots (like sunspots or melasma) are flat on the surface of your skin, and usually need color correction rather than heavy coverage from your foundation or concealer.
Why Skin Preparation Matters Before Makeup
Even if you’re using the best concealer with amazing coverage, if you haven’t prepped your skin beforehand, it can let the imperfection’s texture, dryness or uneven oil soak through your makeup, and highlight the imperfections you’re wanting to disguise.
If you prep your skin properly, you’ll create a smoother and more even base to work with, so your makeup products will grip wherever you apply them, instead of breaking up or clinging to any dry areas.
You need to know your skin type first off (oily, dry, combination and/or sensitive), as that’ll help you choose the right makeup products to use.
Ensure you’re cleansing and hydrating before thinking about applying your makeup products, as having supple skin will reflect the light more evenly, which can make scars and imperfections look less noticeable.
Makeup primer is one of my favorite steps to use in my makeup routine, as it can make a massive difference in how smooth your makeup looks on your skin, as well as prolonging the longevity of your makeup too.
When you use the right primer formula, it can help you blur any pitted areas, fill in any fine lines and control your shine, so your foundation doesn’t end up sinking into any textured areas.
Silicone-based primers work very well on textured areas of skin, as the silicone (usually dimethicone) sits on top of your skin filling in any dips, pores or rougher areas, so you’ll find your foundation will apply a lot more smoothly without making your scars or imperfections stand out even more.
How To Color Correct Discoloration Effectively
Using color correctors will let you neutralize any redness, any dark spots or bruises, so you end up using less concealer for a less cakey finish.
It’s all about basic color theory, where a green color corrector or concealer can help cancel out any redness, a peach or orange corrector or concealer will cancel our any blue/purple shadows, whilst a yellow color corrector will let you brighten up any sallowness.
When choosing your color correctors, think about the skin concern and your skin’s natural undertone.
If, like me, you have fair and cool skin, you’re better off with softer pastel colored color correctors (as they’re easier to cover on fairer skin), but if you have a deeper or warmer skintone, you’ll need richer and more pigmented color correctors so they don’t end up looking ashy on your skin.
For your application, you want to be as precise as possible, tapping only a tiny amount directly onto your problem area – only applying it where you need it.
Soften the edges with gentle pressure, using your fingertips, a damp beauty sponge or a makeup brush, to blend the corrector or concealer into your skin, so it melts into your skin for seamless coverage.
How To Build Coverage Without Looking Heavy
When you’ve used your color correctors and they look seamless, you can now use concealer and foundation to disguise the color corrector colors (if you’ve used them) and hide any scars or blemishes.
Start by using a lightweight formula which will complement your skin type (matte liquid for oily skin, or hydrating or satin finish for dry or textured skin), and apply a thin layer working from the center of your face outwards, building up the coverage in your problem areas.
If you use a dense and small blending brush, or a damp beauty sponge, it’ll let you press your foundation and concealer into the skin, instead of just dragging it across your face. Plus, this will allow you to diffuse the edges and prevent any obvious borders around your problem areas.
Make sure you let each layer set for at least a minute before you add any more, so you get better coverage with less product, for a more natural finish.
Once you’ve covered up everything you need or want to cover up, finish with a setting spray rather than extra powder. Your setting spray will let you lock in your coverage, and help melt your makeup layers together for a natural skin finish, that will stay looking soft, flexible and hopefully, undetectable in real life.